
Basketball is one of the most popular sports in the world. If you’re a fan of the game and you’re looking to practice your skills at home, then installing an inground basketball hoop may be the perfect solution. Installing an inground hoop can be a daunting task, so here’s a step-by-step guide to help you out.
Gathering Your Tools and Supplies
The first step is to make sure you have everything you need for the installation. This includes a shovel, post-hole digger, drill, screws, level, and a concrete mix. You can also get inground basketball hoops installation service via Omaha sports and games company.
Digging the Hole
Once you have all your supplies, the next step is to dig the hole. Depending on your basketball hoop, the size of the hole will vary, but you can usually find the instructions in the manual. Make sure the hole is at least two feet deep and wide enough for the post to fit into.
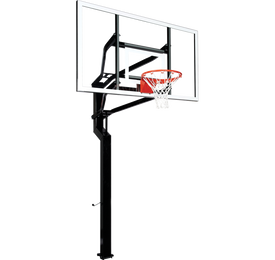
Adding the Backboard
The next step is to attach the backboard. Make sure the backboard is level and securely attached to the post. Again, if it’s not level, the hoop may move when the ball is shot.
Adding the Rim
The last step is to attach the rim to the backboard. Make sure the rim is securely attached and level. You may need to adjust the post or backboard if the rim isn’t level.